
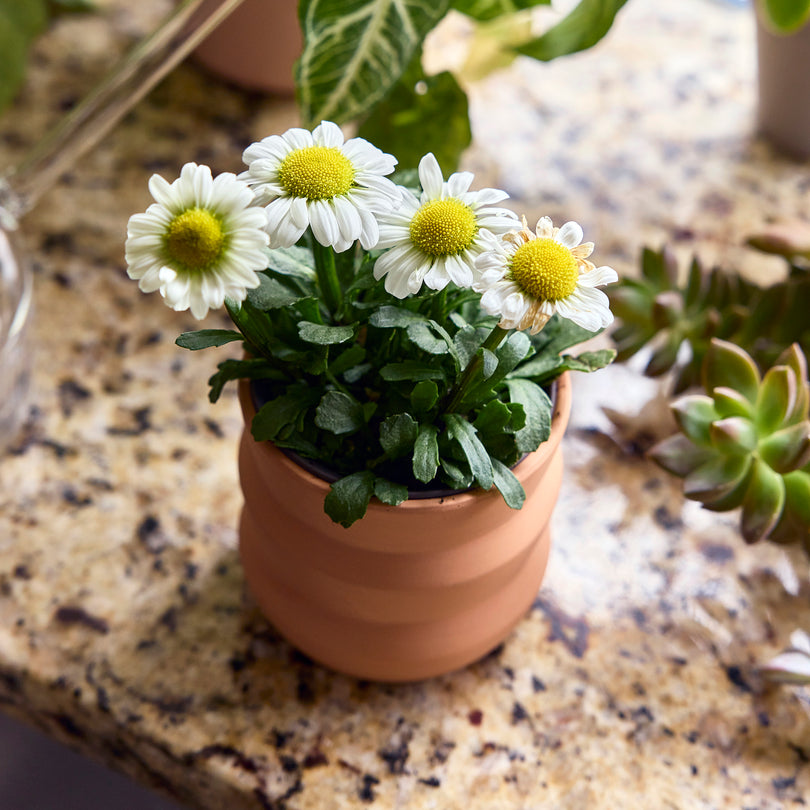
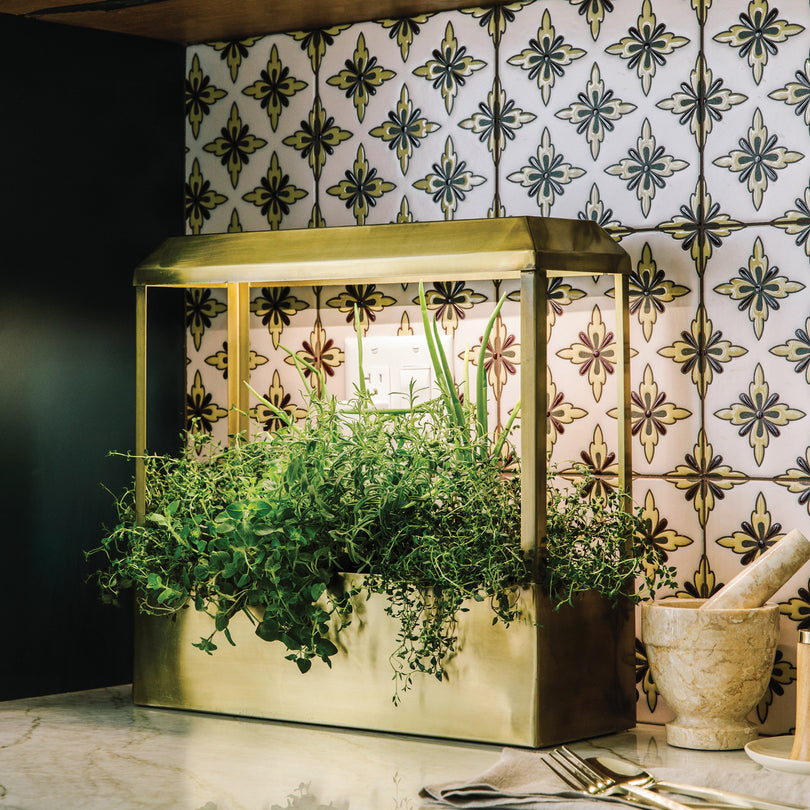
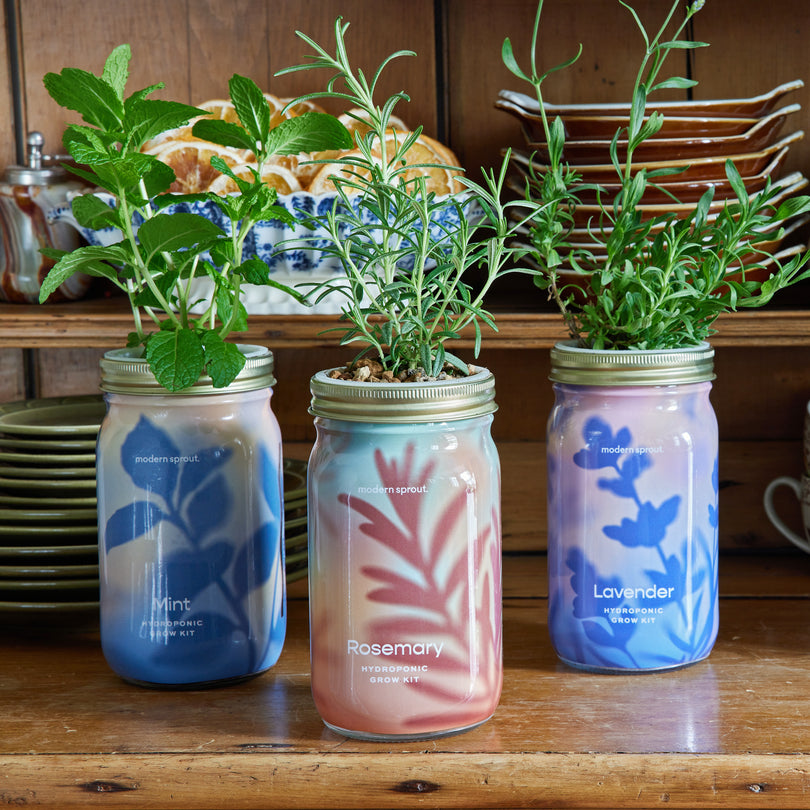
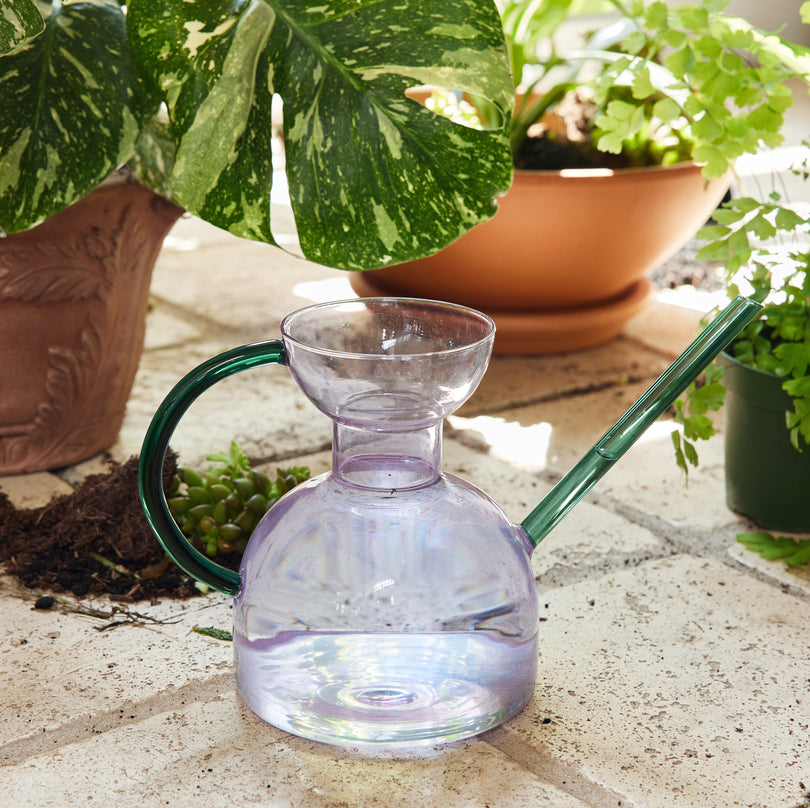

The signal to bring plants inside is a number, and it arrives earlier than most of us expect. Once nighttime temperatures settle into the 50 to 55°F range, tender plants need to come in.
The move itself rewards a head start. Pest checks, a gradual transition, and smart placement all happen before and during the move, and they set up the whole indoor plant care season that follows.

When to Bring Plants Inside
Bring tender plants indoors when nighttime lows consistently reach 50 to 55°F. The key word is consistently. One chilly evening is a warning; a stretch of 50°F nights is the cue. That covers tropicals, houseplants that summered outside, and tender perennials like geraniums.
Two triggers get conflated here. The rolling nighttime average is the real cue. The first frost date is the hard deadline, and for tropical plants it arrives too late, because damage starts well above freezing.
Why 50°F? Most houseplants are tropical understory plants. Chilled roots and cool nights injure tissue quietly, then the damage shows up days later as leaf drop.
So work backward from the weather forecast. Start the move-in process 7 to 10 days before those lows arrive, which leaves room for the pest check and the gradual transition below. Once nights dip into the 40s, tropicals risk shock and permanent damage.
Temperature Thresholds by Plant Type
Different plants come in at different temperatures, mostly based on where they evolved and whether they can go dormant. Here's the quick reference, with the reasoning below.
|
Plant type |
Move inside when nighttime lows reach |
|
Tropicals and houseplants |
50 to 55°F |
|
Tender annuals and flowering containers |
45 to 50°F |
|
Basil |
50°F (it declines fast below this) |
|
Rosemary, sage, thyme, mint |
40°F or below, if at all |
|
Tender succulents and cacti |
50°F |
|
Hardy sedum and sempervivum |
They stay out all winter |
|
Hardy perennials and shrubs in pots |
They stay outside, with protection |
1. Tropicals and Houseplants That Summered Outside
Monstera, pothos, philodendron, ferns, tropical hibiscus, and citrus all come in at 50 to 55°F. Their native range never sees a frost, so they have no dormancy to fall back on.
These are also the plants most likely to arrive carrying pests. A full season outdoors means a full season of exposure, which is why the inspection step below matters most for this group.
2. Tender Annuals and Flowering Container Plants
Geraniums, begonias, coleus, and impatiens handle a bit more chill and can wait until nights hit 45 to 50°F. Many of them don't need to come in as full-size plants at all; cuttings or dormant roots overwinter in far less space.
3. Herbs
Basil is the outlier. It sulks below 50°F and rarely transitions well indoors, so it's often smarter to harvest it hard and re-sow indoors from seed. Rosemary, sage, thyme, and mint are tougher, tolerating 40°F and below.
Rosemary is the one most worth the windowsill space, since it keeps producing fresh sprigs all winter. Mint and thyme can come in or ride out winter in a protected spot, depending on your zone.
4. Succulents and Cacti
Cold tolerance varies wildly by genus. Most tender types want to be inside by 50°F, while hardy sedum and sempervivum shrug off snow and stay out all winter.
Indoors, the real risk for this group is low light paired with retained soil moisture. Give them your brightest window and let the soil dry out fully between waterings.
5. Hardy Perennials and Shrubs in Containers
These generally shouldn't come inside. Hardy perennials need a cold dormancy period, and a heated room interrupts it, leaving you with a confused, weakened plant by spring. Protect them in place instead.
Reading Your Yard's Actual Temperatures
A published first-frost date describes your region. Your yard is more specific than that.
-
Microclimates shift the number. Pavement, walls, fences, and slope can move the effective temperature several degrees within a single property. Cold air pools in low spots, a south-facing masonry wall radiates stored heat all evening, and exposed balcony and rooftop containers run colder than in-ground beds.
-
Pot size matters too. A small pot swings to air temperature within hours, while a large one lags behind, which explains why in-ground plants sail through a night that damages potted plants right beside them.
-
Monitor your spot, not your region. Check forecast nighttime lows for your specific address rather than the regional number. A min/max thermometer on the patio tells you what your spot does night after night.
-
Don't lean on hardiness zones. They describe average annual minimums for in-ground plants, so they can't set your fall timing. And a container plant needs a rating about two zones colder than yours to winter outdoors at all.
What to Do During a Sudden Cold Snap
Should you bring your plants in tonight? If the forecast dips below 50°F and you haven't started the transition, yes, at least the vulnerable ones.
-
Triage in this order. Tender tropicals and annuals first, then anything in a small or terracotta pot, then the borderline cases.
-
Shelter what can't move. Cluster pots against the house, tuck them under eaves or a covered porch, and group containers so they share thermal mass. Fabric covers help overnight; keep plastic from touching foliage, since it transfers the cold directly to the leaves.
-
Treat one night indoors as bought time. If lows keep trending down, take it as the signal to start the full move-in.
-
Assess for damage the morning after. Blackened or translucent leaf tissue, sudden wilt that water doesn't fix, and mushy stems all mean cold injury.
Check for Pests Before Bringing Plants Inside
Skipping the pest check is the most expensive mistake on this list. Outdoors, predators, rain, and cool nights keep insect populations in check. Indoors there's none of that, so an aphid colony that stayed minor all summer multiplies fast in a warm, dry room and spreads to every houseplant nearby.
1. Inspect the Whole Plant
Leaf undersides, leaf axils, new growth tips, the soil surface, the pot rim, and the drainage holes underneath, where slugs and ants like to shelter.
2. Know What You're Looking For
Aphids cluster on new growth. Spider mites leave stippled leaves and fine webbing. Scale shows up as immobile brown bumps, mealybugs as cottony white spots. Fungus gnats fly up from the soil when you disturb it.

3. Treat in Sequence
Integrated pest management style: physical removal first, targeted treatment second. Hose down the foliage outdoors with a firm spray of water. Where pests persist, follow up with insecticidal soap, neem, or an organic bio insecticide, applied with a spray bottle you'll use again for humidity later. Let the foliage dry completely before the plant comes inside.
4. Check the Soil
Slide the root ball out of the pot to look for larvae and slugs, and swap the top inch of soil for fresh medium if anything's living in it. For a stubborn infestation, submerge the whole pot in a tub of water for 15 minutes to flush out soil dwellers.
5. Dry Out Before Move-In
Let saturated soil dry under cover for a few days, and repot fully if the plant is root-bound anyway.
6. Quarantine New Arrivals
Keep them away from established houseplants for 2 to 3 weeks and re-inspect before they rejoin the group. Sticky traps near the quarantined pots catch fungus gnat adults and tell you whether the soil treatment worked.
Acclimating Plants to Indoor Conditions
Moving inside hits a plant with three shocks at once: a big drop in light intensity, a rise in temperature, and a collapse in humidity once the heat kicks on. Acclimating, which means transitioning gradually instead of all at once, softens all three.
Give it 7 to 10 days. Move the plant to a progressively shadier outdoor location, or bring it in at night and set it back out during the day, extending the indoor time until the move is permanent.
An abrupt move causes light and transplant shock that shows up 1 to 2 weeks later as yellowing and leaf drop. It's easy to misread that as a watering problem and respond with more water, which compounds the stress.
Trim lightly if growth is leggy or damaged, and save any hard pruning for spring. The plant is already working through a transition; a heavy cutback on top of it asks too much.

Where to Put Plants Once They're Inside
Placement decides whether a plant holds through winter or fades by January.
-
Light comes first. Even your sunniest window delivers a fraction of the intensity of outdoor shade, and shorter days compound it. Give former full-sun plants south-facing or west-facing exposure, keep shade lovers in bright, indirect light, and expect some leaf loss regardless. Our guide to how much light indoor plants actually need covers reading light levels window by window.
-
Supplement where a window can't close the gap. A full-spectrum grow light restores both intensity and daylength; position it within about a foot of the foliage and run it 10 to 12 hours a day. The Smart Growbar handles the schedule from the app, and our grow lights range covers shelf, frame, and standalone setups.
-
Mind the heat sources. Keep plants off forced-air vents and radiators, and away from cold single-pane glass and exterior doors. Heat vents and cold drafts both desiccate foliage.
-
Raise the humidity. It drops hard once the heat runs, often to 20 to 30% against the 40 to 60% most tropicals prefer. Group plants together, set pots on pebble trays, mist regularly, or run a humidifier for a dense collection.
-
Protect the surfaces. A saucer under every pot, and a tray under anything on wood, since indoor watering always finds the floor eventually.

How Winter Care Differs From Summer Care
Less light and cooler rooms slow growth, and slower growth means the plant drinks less and eats less. Adjust both.
Water less often, but still thoroughly when you do. Skip the schedule and check instead: lift the pot to feel its weight, or probe until the top two inches of soil feel dry. A soil tester from our plant care and accessories collection takes the guesswork out.
Empty the saucer after each watering. Water sitting under the pot is how root rot starts, and a dormant plant can't outgrow it.
Unglazed terracotta breathes and dries faster than glazed or plastic pots. In a low-light winter room that's an advantage, since the soil won't stay soggy; in a dry, heated room it means checking the soil more often. A real trade-off, and both work.

For steadiness between waterings, terracotta watering bulbs release moisture slowly into the soil. The goal in winter is even moisture at low volume; an overwatered dormant plant is the easiest one to lose.
Feeding follows watering. Pause or sharply reduce fertilizer through the low-light months, then resume as daylength increases in late winter.
Our Dissolving Plant Food Sheets make that rhythm easy to keep, since they dose through the watering can: as winter watering slows, feeding slows with it. Our plant food collection covers the rest of the feeding toolkit. For feeding frequency once growth picks back up, see how often you should fertilize indoor plants.
Bring It Inside, Store It Dormant, or Let It Go
Heated living space is limited, and some plants winter better elsewhere. Here's how to decide.
1) Full Indoor Growing
suits tropicals and houseplants that keep growing year-round. It costs the most light and space, so reserve it for plants that repay the investment.
2) Cool Dormant Storage
works for geraniums, fuchsia, dahlia tubers, canna, brugmansia, and fig: an unheated garage, basement, or shed holding roughly 40 to 50°F. Water minimally, skip feeding entirely, and either dark or dim conditions work once the plant is dormant.
3) Overwintering as Cuttings
beats hauling in oversized pots of coleus, geraniums, and begonias. Cuttings take less space, carry fewer pests, and make healthier spring plants. A little rooting hormone helps, though it isn't required.
4) Leaving Hardy Plants Outside with Protection
is right for container perennials and shrubs that need cold to break dormancy. Group the pots, insulate them, and move them against a sheltered wall. Our guide to putting your garden to bed for winter covers the protective side in depth.
5) Letting Go
is the honest answer for true annuals. Marigolds, zinnias, nicotiana, and sweet potato vine finished their life cycle on schedule; compost them and buy fresh in spring.
When you're unsure about a specific plant, run it through three questions. Is it tropical? Then it comes in. Does it need dormancy? Then it stays cold. And if it can't repay the light and space it will demand indoors, take cuttings or say goodbye.
Common Problems in the First Few Weeks Indoors
Some turbulence after the move is normal. Match the symptom to the cause before reaching for the watering can.
-
Sudden Leaf Drop: light shock as the plant adjusts to lower light. New foliage replaces it. Don't increase water in response.
-
Yellowing Lower Leaves: overwatering against reduced winter demand. Let the soil dry further between drinks.
-
Crispy Edges and Brown Tips: dry indoor air or a nearby heat vent. Raise the humidity or relocate the plant.
-
Pests Appearing After Two Weeks: eggs that survived the first treatment. This is why the quarantine exists; re-treat and reset the clock.
-
Leggy, Stretched Growth: too little light intensity or too few hours of it. Move the plant closer to the window or add a grow light.
Expect a houseplant that summered outside to look a little rougher in November than it did in August. That's the transition, and it recovers.
When to Move Plants Back Outside
The spring move mirrors the fall one. Wait until nighttime lows stay reliably above 50 to 55°F and your last local frost date has passed. Mid-spring is typical for most of the country, but let the forecast decide, the same way it did in fall.
Then harden off in reverse: a week or more of gradually increasing outdoor exposure, starting in full shade. A plant acclimated to indoor light sunburns fast in direct sun, even in the exact spot it lived last summer.
Working Backward From the Forecast
Bringing plants inside comes down to one habit: watch the forecast for 50°F nights and start the process 7 to 10 days ahead. Check for pests before anything crosses the threshold, transition gradually, and place plants where the light, heat, and humidity give them a fair shot.
Then ease off the watering can and the fertilizer, and expect a few dropped leaves along the way. The plants that get the full week of process in the fall are the ones still thriving when they head back outside in spring.

